Elements code tutorial
Python web application example using Flask
Flask is one of the most popular web frameworks for Python. This example shows how to use the framework to display the results of RPC calls to our Elements node on a web page, forming the building block for web application development. We will be setting up a simple example, but you can learn about the full range of features in Flask here.
We will use the Python code from the previous tutorial section and have it run from Flask so that we can write the output to a web page.
Assuming you have already installed the prerequisites in the Desktop application example in Python section (i.e. python3-pip, virtualenv), we just need to set up the environment and install Flask:
cd
mkdir elementstutorialflask
cd elementstutorialflask
virtualenv venv
source venv/bin/activate
pip3 install python-bitcoinrpc
pip3 install Flask
Before we try running any code make sure the required daemons are running.
Note: If you get an error connecting to the elements client when you run the code below it may be because your node has been left in an altered state after quitting the tutorial code at an early stage. To refresh and reset the daemon’s blockchain and config files re-run the first section of the tutorial code up to and including the lines where the 3 config files are copied into the new directories, then run the commands above to start the required daemons.
Create a file named elementstutorial.py, into which you should paste the following code, most of which you will be familiar with from the last section. Again, we will be using AuthServiceProxy to handle the connection, authentication and data typing for us as we communicate with our node.
Note: Python requires that lines are indented correctly. Make sure the code below is copied correctly and is using 4 spaces for indenting lines. Also note that some of the lines below wrap when viewed in a browser.
from flask import Flask
from bitcoinrpc.authproxy import AuthServiceProxy, JSONRPCException

app = Flask(__name__)

@app.route("/")
def elements():
    rpc_port = 18884
    rpc_user = 'user1'
    rpc_password = 'password1'

    try:
        rpc_connection = AuthServiceProxy("http://%s:%s@127.0.0.1:%s"%(rpc_user, rpc_password, rpc_port))

        result = rpc_connection.getwalletinfo()

    except JSONRPCException as json_exception:
        return "A JSON RPC Exception occured: " + str(json_exception)
    except Exception as general_exception:
        return "An Exception occured: " + str(general_exception)

    return str(result['balance']['bitcoin'])

if __name__ == "__main__":
    app.run()
Start the web server and execute our code:
FLASK_APP=elementstutorial.py flask run
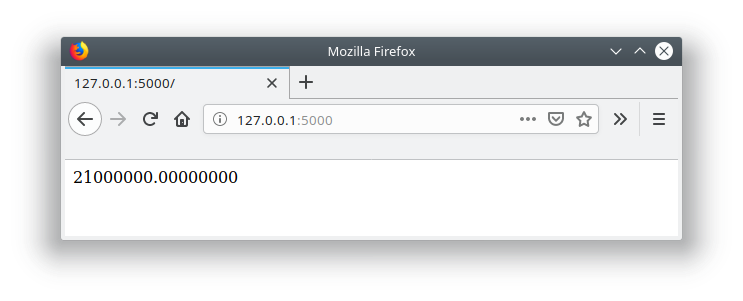
You should see the web server startup. Now all you have to do is open a browser and go to:
Which simply writes the result of the “balance” call to the page:
As in the previous exercise, this is intended to get you up and running. You now have a functioning setup which you can use as a building block for further development using Flask.